How about combining two aspects of my favorite design elements? Wood and photography. Well that's just what we have here. Actual photos printed out and then, through a special process, transferred completely onto wood.....
Ok, so i cant take the credit for this project. My friend Samantha is the brains behind this one. All I did was cut the wood for her and routed some keyholes in the back. ( oh, and I also dropped the entire sheet of plywood on my big toe...well only the nail part...and it's still blue today....moving on).
Samantha decided to make these for her family to give as Christmas presents, and since she LOVES photography, it was the perfect project. She printed out her pictures in black and white on regular paper stock using a Laser printer. So how does one transfer the ink of a photo onto wood? Keep reading and find out.
 |
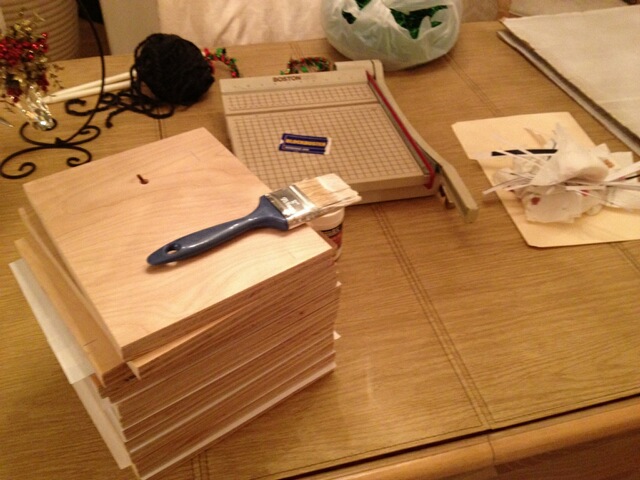
| First thing is to organize. She has her wood, paper cutter, pictures, "magic solution" and special smoothing tool |
 |
| She then applies the "Magic Solution" to the wood....ok, it's gel medium, sounds better when I call it "Magic Solution" |
 |
| She then places the picture on the wood.....printed side down obviously |
 |
| Then she smooths out all the bubbles using the special smoothing tool.....can you guess what it is? Yup, a Blockbuster card. Now, if you don't have a Blockbuster card, don't freak out! You don't have to go running out and join Blockbuster. Any flat, rigid scraping device will work fine. |
 |
| Now after it sits overnight....yes overnight, it's one of those "I have to be patient projects but I really don't want to can I please take a peak now NO you can not" projects. After it sits OVERNIGHT, she uses a wet rag or sponge to wet the entire piece of paper. Then gently rub off all paper residue until its all smooth. |
 |
| And here it is after all the paper is gone. I was told that this is the worst part of the process. Very time consuming and exhausting |
 |
| After all the paper was removed, she then used Mod Podge to seal it all up |
 |
| Hey look, it's me! And look at that awesome wood grain you can see behind the picture |
 |
| How timeless does this look? |
Again, I really didn't have anything to do with this project but felt I needed to share it since Samantha doesn't have her own blog. I think she did an AMAZING job, especially since it was her first time attempting it. I think 1 out of 12 pictures came out bad. Pretty good ratio in my book.
I don't think this will be the last you will see of Samantha's projects. I think I somehow got her hooked into the DIY, craft culture. Right now we are collaborating on a project together that will really showcase both our skills as photographers, designers and artists. I actually have our first test project setting up as I'm writing this. Man I really want to peak....NO...I have to wait till tomorrow.
Thanks as always for reading and I really hope you enjoyed this project of Samantha's. If you did, please share it by leaving a comment for her on here. She will sill it. Maybe encourage her to start her own blog or at the least, to become a member on all our favorite DIY sites.
Thanks again,
Dennis D. and guest DIY'er Samantha C.


This has to be the coolest idea. I already contacted Dennis to put a future order in. This is a great idea for a gift or to just have for yourself. I cannot wait to get this. I just showed some of my co-workers and it seems they might be interested in some as well.
ReplyDeleteNext week going to let ya'll try a pic on stone - it should rock!
ReplyDeleteI'm pretty excited about trying it on the stone. Thanks for signing up bob
DeleteStart up a blog Samantha! Great job. Love this technique. I've used many special tools to smooth things out. lol I've worked on stone before. It's a lot of fun.
ReplyDeleteThis is just great and I can't wait to give it a try. I have a good friend just starting her own photography business AND she loves being crafty-she should totally do these!If you have a sec come link up-my party is open till Monday night
ReplyDeletehttp://kim-toomuchtimeonmyhands.blogspot.com/2012/01/get-schooled-saturday-6-and-e-book.html
Thank you for the comment. I think it's a great way to show off you're photography. We are starting to put together an inventory soon(hopefully) and they will be selling on etsy. And someone really has to tell me what this Linky party thing is. I am so in the dark when it comes to social media
DeleteSo cool! I love this idea! :)
ReplyDeleteAwesome! Great tutorial!! Thanks so much for linking up at my 365 challenge ;)
ReplyDelete